

Patience and careful planning is needed with any Chirstmas cake. It requires a long bake time and ensure you have enough time at the end to decorate.

1 Preheat the oven to 170°C/fan 150°C/gas mark 3. Grease and line with double thickness parchment paper an 8-inch (20cm) round cake tin or a 7-inch (18cm) square one.
2 Sieve the ground almonds, corn flour and spices into a mixing bowl. In another large mixing bowl, cream the butter and sugar until the mixture is fluffy and light – don’t skip this as it’s the most important part of the cake.
3 Add your eggs one at a time to your butter and sugar mix as you continuously whisk (if it looks like it will curdle, you can add a little of the dry mixture to help prevent this).
4 Fold in the dry mixture (ground almonds, corn flour and spices) – not beating this time, just fold bit by bit with a spatula. Add the golden syrup into the mix and gently stir in. Finally add your dried fruit and orange zest and finish with one last fold to evenly distribute your fruit.
5 Spoon the mixture into your prepared cake tin, spreading it out evenly. Now tie a double layer of brown paper around the outside of the tin (to provide some insulation and achieve a more even bake). Place the tin in the oven so the top of the cake is in the centre of the oven.
6 Bake the cake for 1 hour on 170°C. Place a double-sheet of parchment paper with a hole in the middle about the size of a 50p piece on top of the cake and then turn the heat down to 150°C/fan 130°C/gas mark 2 for a further 3 ½ hours (to stop it from burning).
7 When it’s baked it will have begun to shrink away from the sides of the tin and be springy in the centre when you press lightly with your little finger. You can leave this in the tin until it’s completely cool. Peel off the papers and wrap it in a double layer of greaseproof paper before storing in an air-tight tin. For decorating follow the next steps. I would decorate the cake 2 or 3 days before you intend to eat it.
8 Decorating: heat the jam with a splash of water in the microwave for 30 seconds. Brush this all over the sides and top of the cake in an even, thin layer.
8 Marzipan: ideally you should cover the cake with marzipan about a week before icing, in order for the marzipan to dry out completely. This is important if you want to keep the cake for any length of time. Dust the work surface and your rolling pin with icing sugar. Take your marzipan and knead it for a few minutes so it is easier to work with. Take 2/3rds of the marzipan to sit on top of the Christmas cake. Start to roll it out (into a square or circle depending on your tin shape), with even pressure, turning as you go. When it’s the desired thickness and size curl it onto the rolling pin. Using the rolling pin, lift the marzipan and unroll it onto the cake starting at the back. Use the flats of your hands to smooth the marzipan into place. Then take the remaining 1/3rd of marzipan and roll this into a long rectangle to cover the sides of the cake. Pinch it along the joins to seal with the top piece of marzipan. Smooth over the joints with a knife and leave the cake covered with a clean tea cloth for a few days to dry out.
9 Icing: when your cake is ready, dust the work surface and rolling pin again with icing sugar. Take some ready-to-roll icing, knead it for a few minutes (to make it easier to work with) and dust with icing sugar too. Brush the cake with warm water to help the icing stick. Repeat the same rolling process used for the marzipan until the icing is about 1/2cm thick. Start by laying the icing at the back of the cake and lower it down to the front. Smooth over and neatly trim away the excess.
10 Finish with any of your special touches to make this Christmas cake your own.

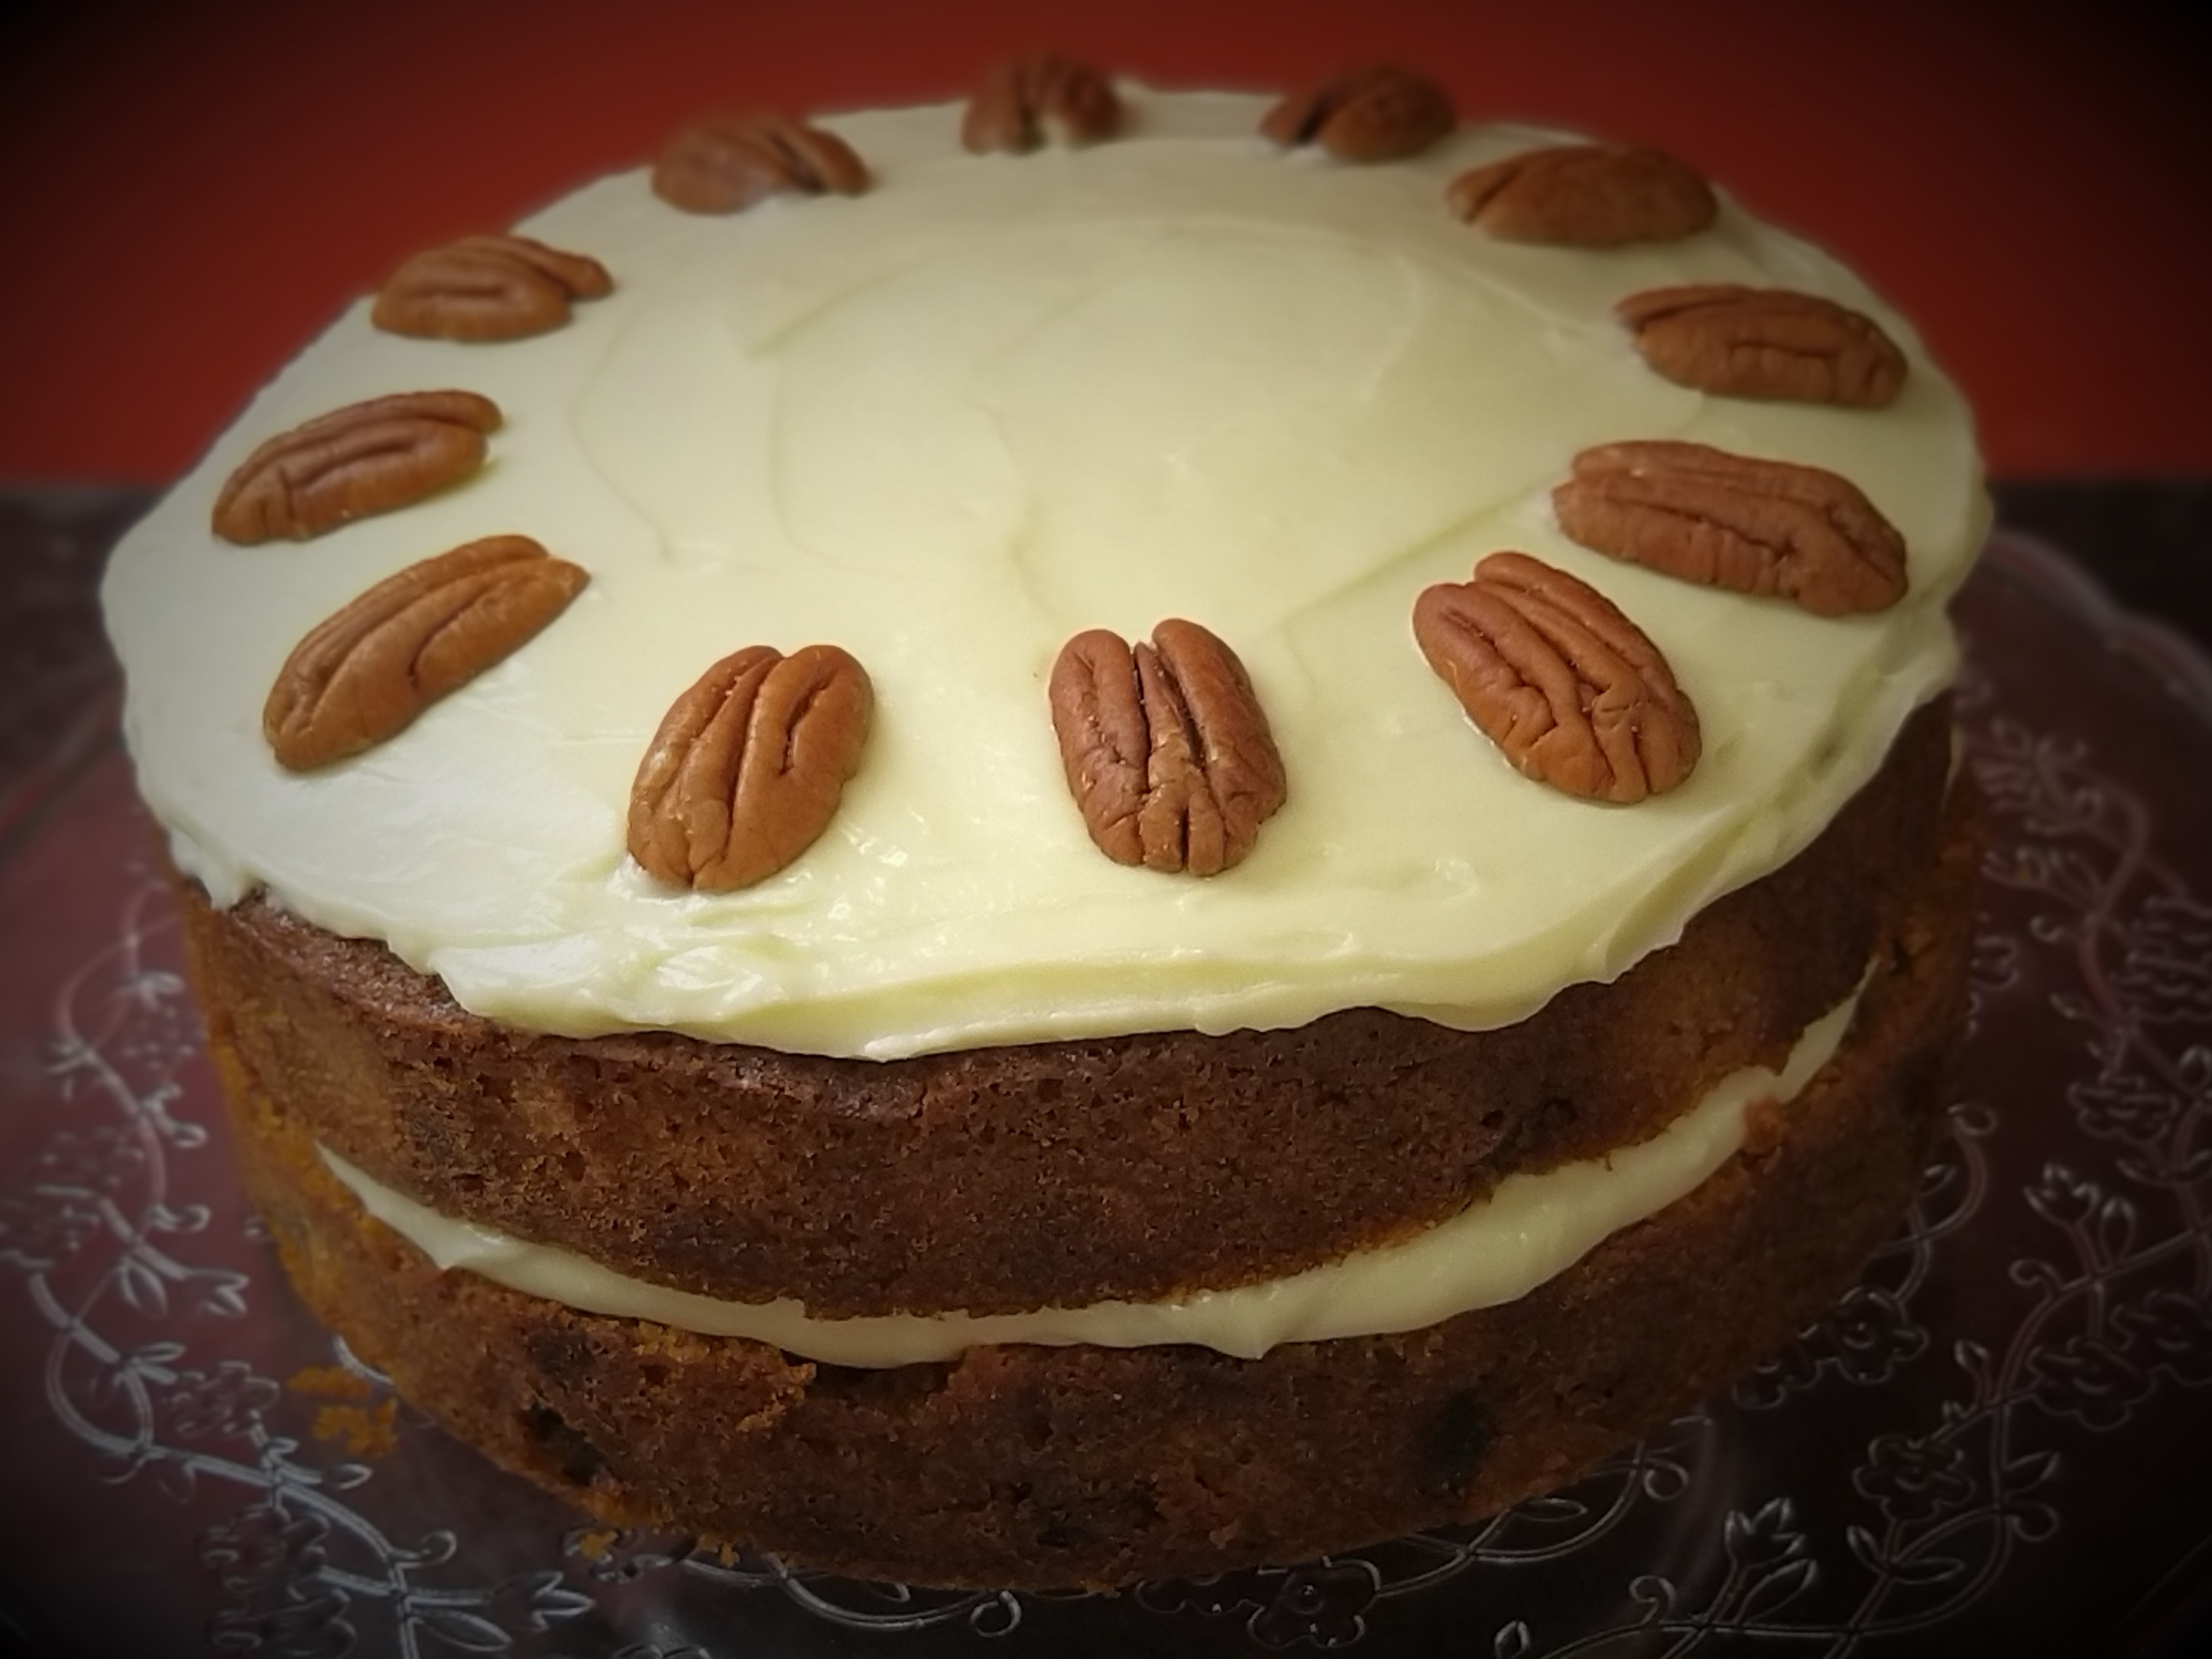
Carrot gives this cake natural moisture and the spices, dried fruit and walnuts make it delicious

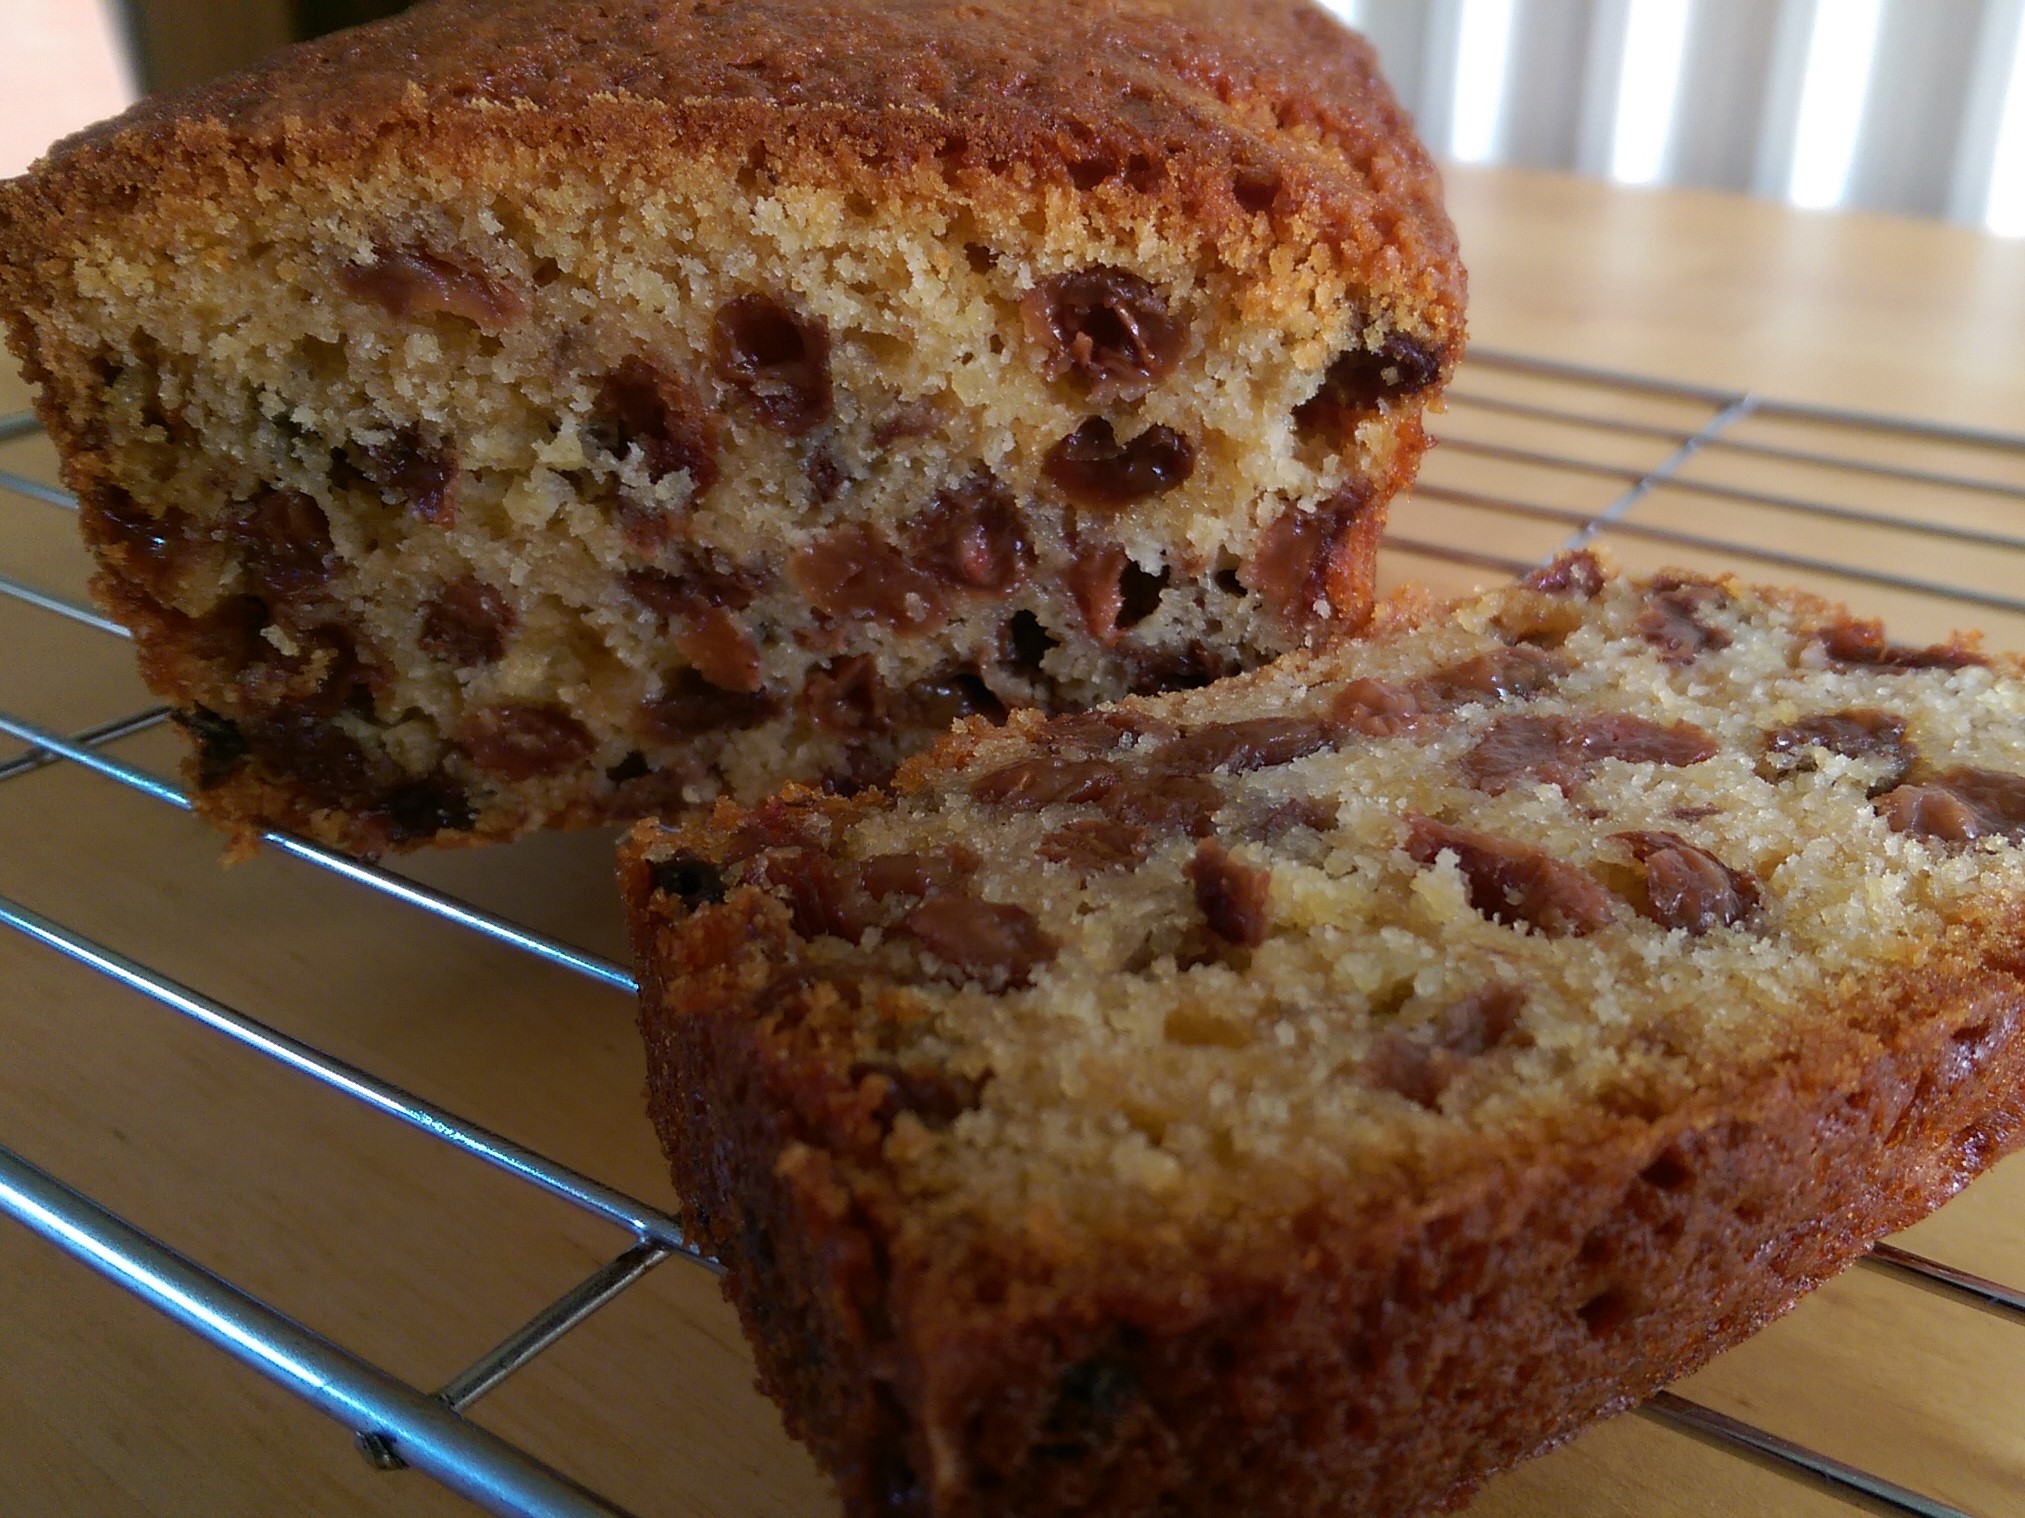
Go back to those good old fashioned recipes with a sultana loaf - tried and trusted

A wholesome, thick cookie full of flavours reminiscent of the festive period

A twist on the traditional fruit cake with the addition of apples and walnuts

Get the whole family involved in the construction -just as much fun making as eating!